The Eclipse IDE is undeniablyone of the best software for developing systems that exists. Although it was originally created to be a Java Development Environment, The Eclipse IDE supports a wide variety of other programming languages, such as C++, PHP, and Python.
Being easy to use, lightweight to install and fast to run, the software emerges from among the most used both for those who want to start learning to program as well as for those who have been working professionally for many years.
In this article we will teach you how to install Eclipse for Java Desktop development (the most common installation style for anyone learning to program in Java). All you will need is a computer with the Windows 64-bit operating system and the Java Development Kit (JDK).
But let’s get to the point!
Step 01 - Downloading the Java Development Kit (JDK)
Our website algol.dev, provides you with an alternative link (button on the side) so that you can download the JDK more easily.
Our website algol.dev, provides you with an alternative link (button below) so that you can download the JDK more easily.
If you prefer, you can click here and go to Oracle’s official website to download the JDK.
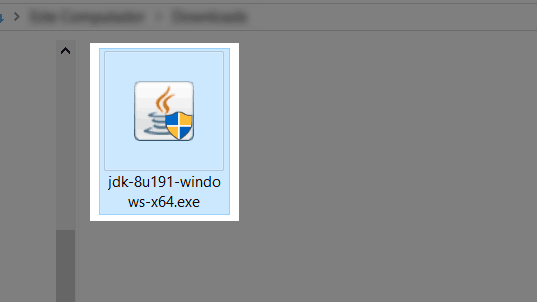
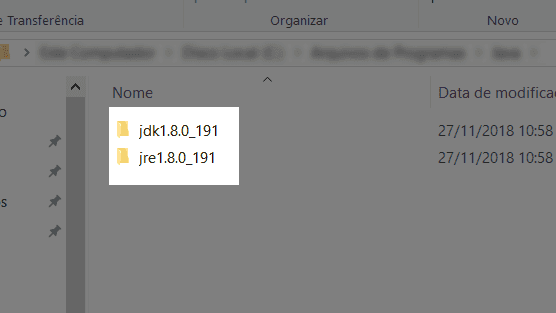
Etapa 02 - Instalando o Kit de Desenvolvimento Java (JDK)
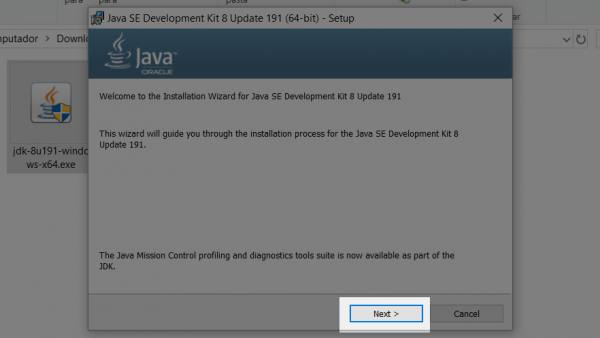
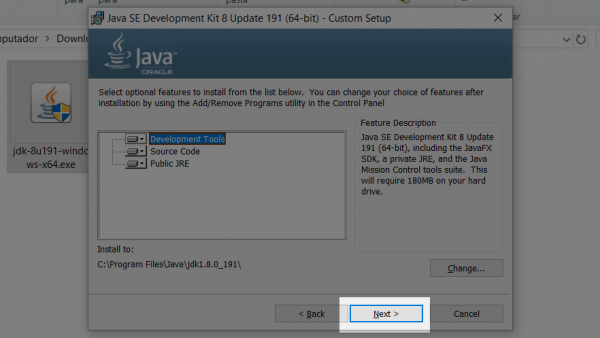
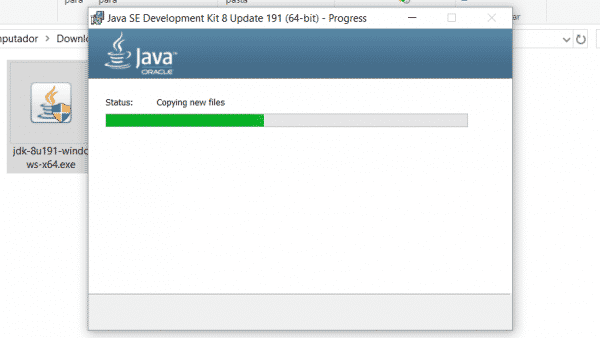
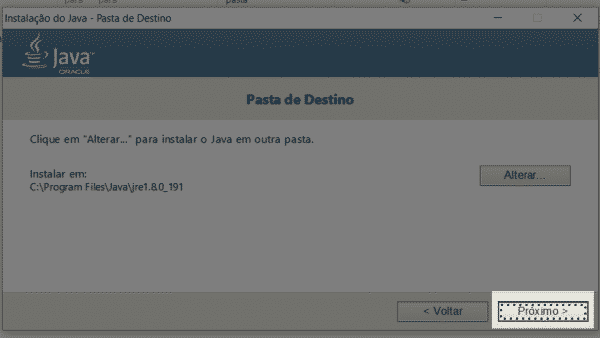
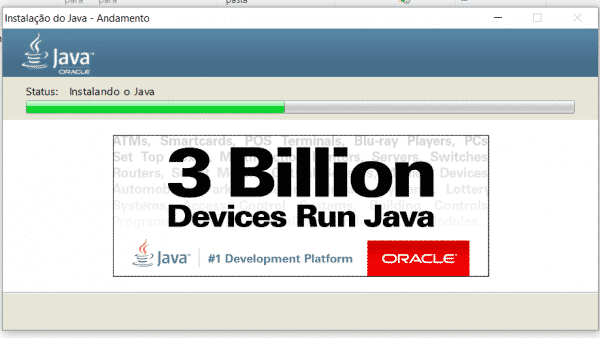
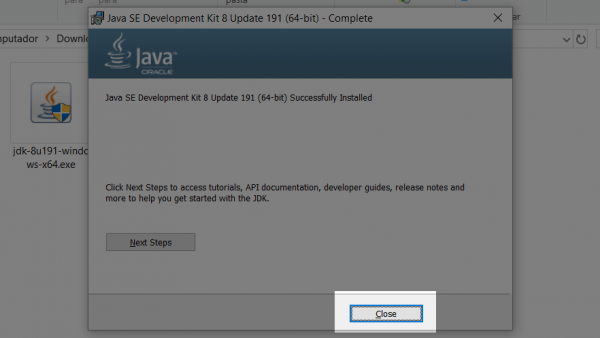
The Application Installation window will open. The process is very simple. See the slide below for install eclipse steps.
Step 03 - Downloading the Eclipse IDE
Our website algol.dev, provides you with an alternative link (button on the side) so that you can download Eclipse more easily.
Our website algol.dev, provides you with an alternative link (button below) so that you can download Eclipse more easily.
If you prefer, you can click here and access the official Eclipse website to download it.
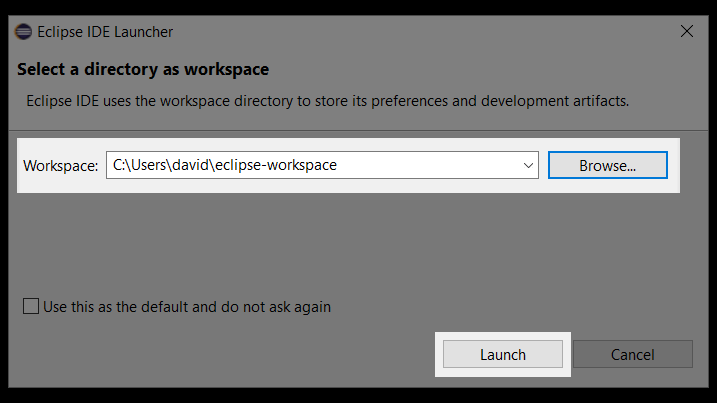
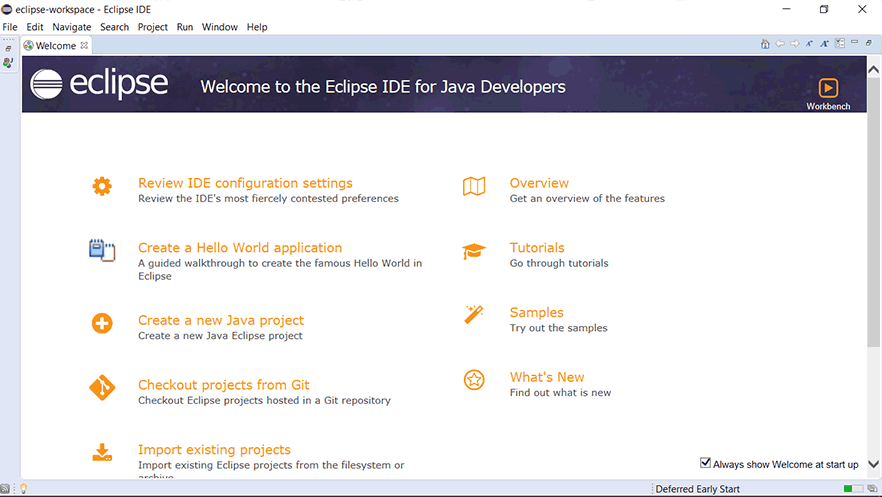
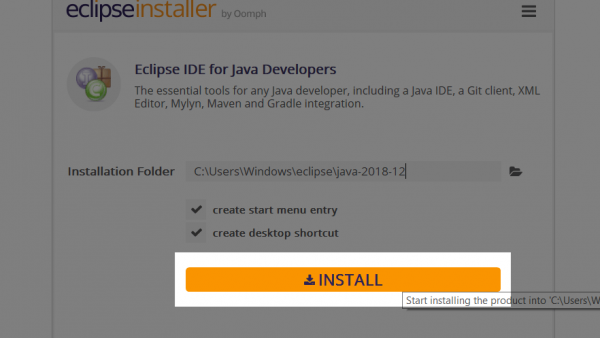
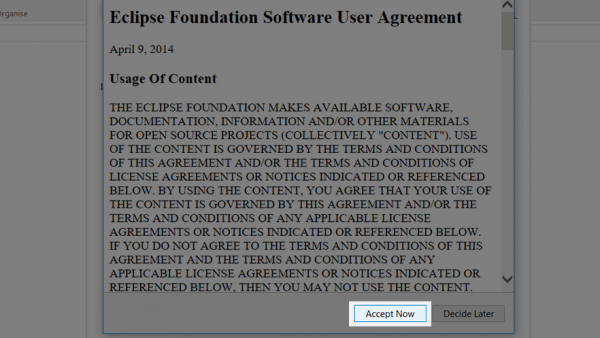
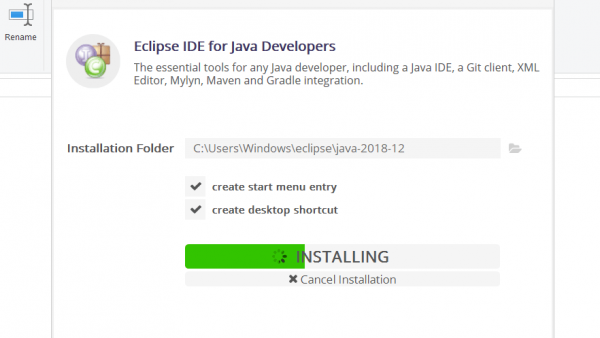
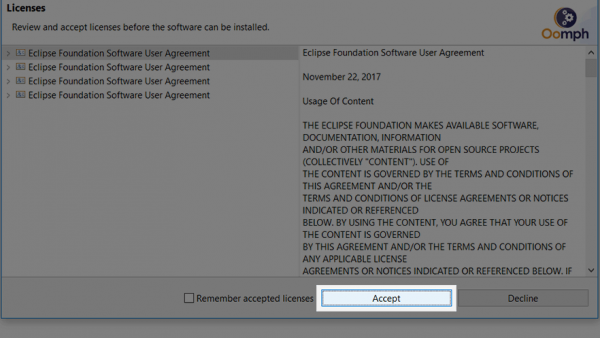
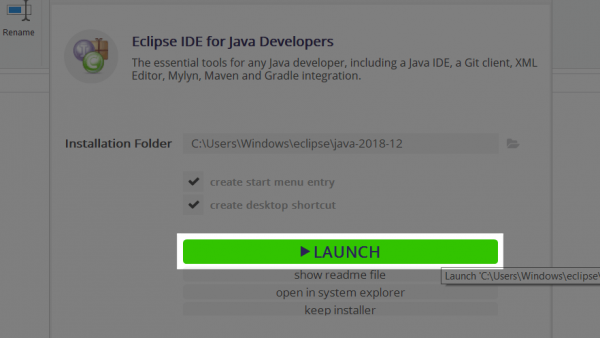
Step 04 - Installing the Eclipse IDE
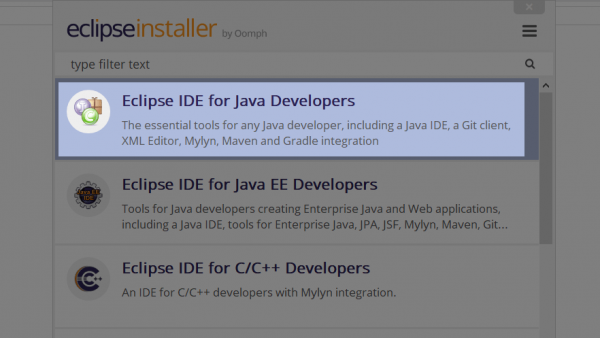
The Application Installation window will open. The process is very simple. See the slide below for install eclipse steps.
Step 05 - Creating a project and testing the Eclipse IDE
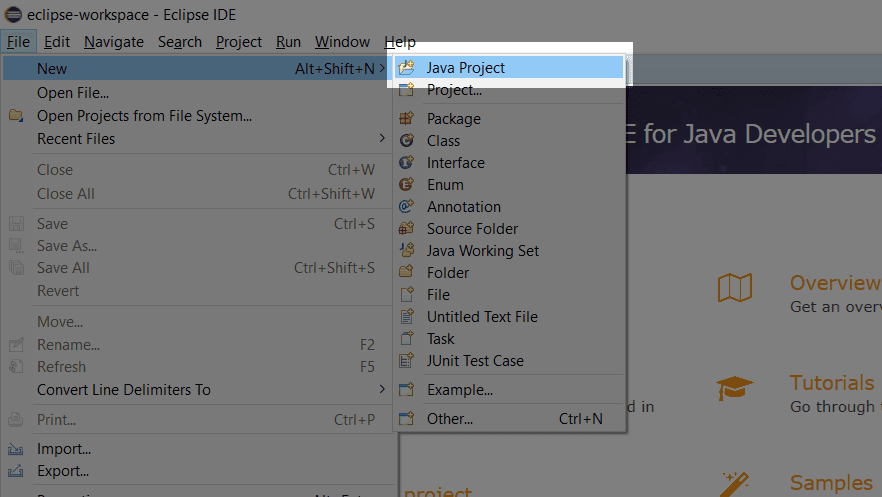
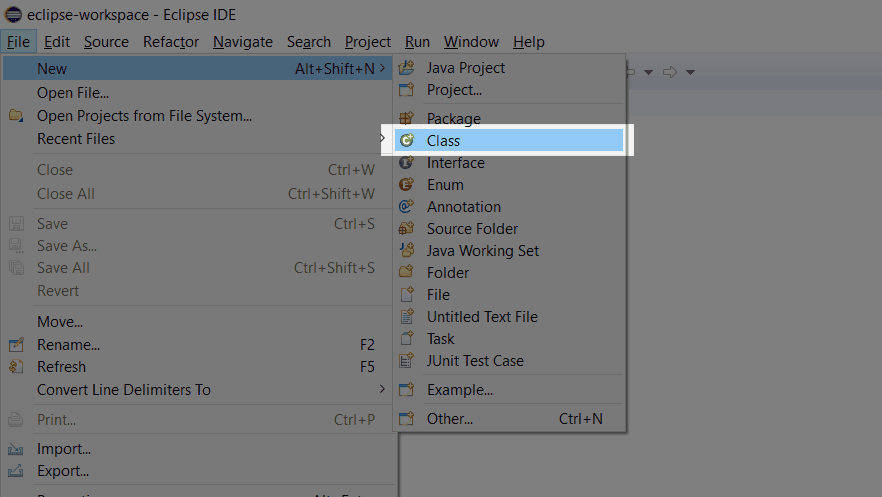
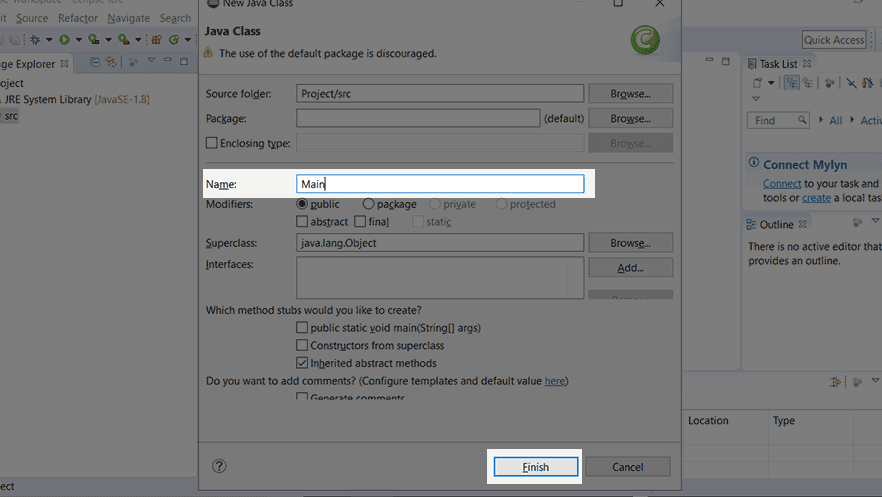
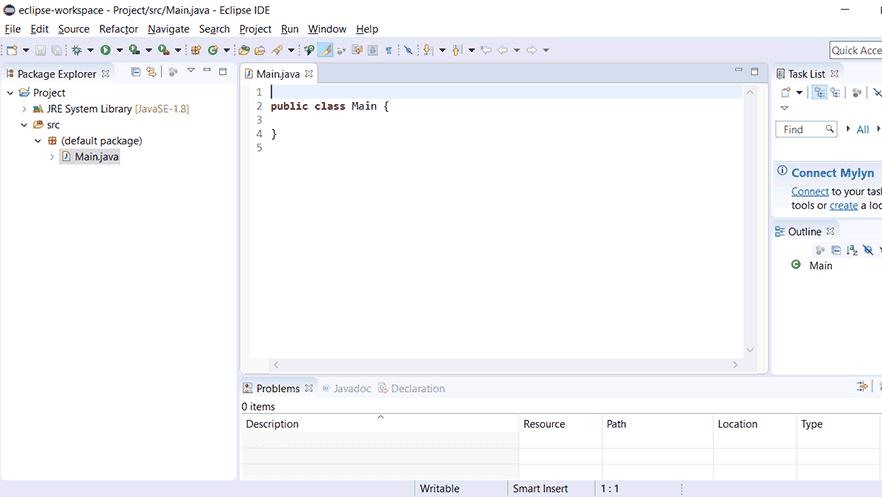
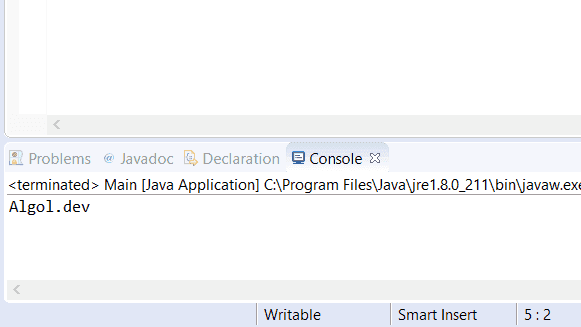
Finally, we will create a project and run a Java application, to make sure that the installation was successful.
1.public class Main {
2. public static void main(String[] args) {
3. System.out.println("Algol.dev");
4. }
5.}
Therefore, the installation has been completed!
The Eclipse IDE is properly configured and prepared to develop your Java projects.
