During the software development process, or during the learning process, there is a need to know how to import into Eclipse IDE projects created in other Java IDE development environments, such as NetBeans, BlueJ e IntelliJ IDEA.
In this article, we will teach you in a very quick and objective way to import simple projects just by copying the “.java” files to the “src” directory of Eclipse.
But let’s get to the point!
The first thing you need to do is open the Eclipse IDE and create the new project for which you will import your “.java” files. If the project already exists, you just need to open it.
After the open project, all you need to do is put your “.java” files inside the “src” folder of the project.
Start by copying the “.java” extension files that you want to transfer.
Then go to the directory where your Eclipse project is located. This directory is usually “C:\Users\user_name\workspace”.
Note that the path of this directory may vary, depending on the settings of the program.
After you have located the project directory, go to the Java Project folder and, within it, access the folder “src”. This folder represents the directory where all the source files in your Eclipse project are located.
Paste the copied files into the “src” folder.
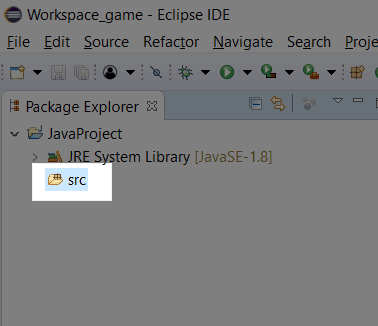
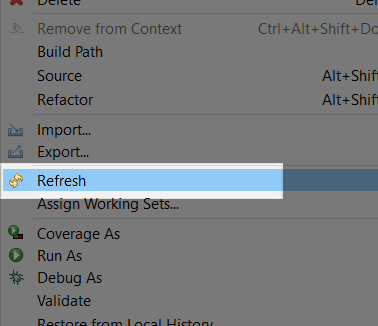
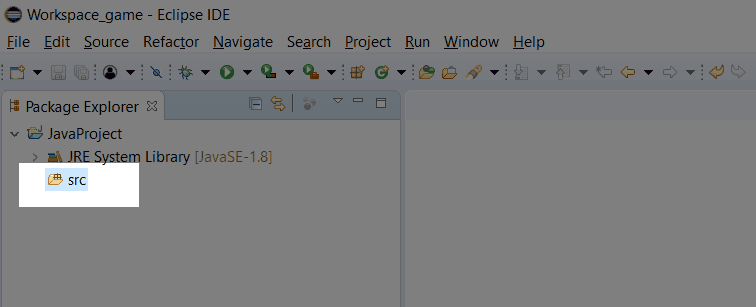
Back to Eclipse, in the Package Explorer pane, right-click on the directory “src”. In the context menu that will open, click on the Refresh option.


After this operation, you will notice that the “.java” extension files have been properly loaded into the project.
Ready! You just learned how to import your Java project into Eclipse.
Any questions or suggestions, please leave your comment below.


